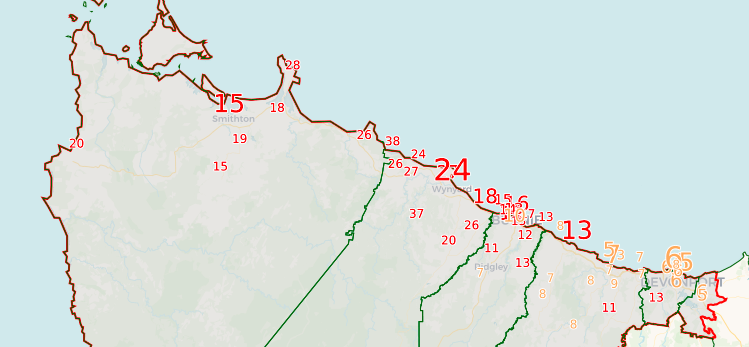
The by-elections last night ended up being quite clear and not particularly close in the end. I’ve put together a few maps to highlight some interesting elements.
This first map shows Longman. You can toggle between three different results layers: the 2PP vote, the 2PP swing to Labor, and the swing to One Nation.
The second map shows Braddon, and starts with the primary vote for independent candidate Craig Garland. You can toggle to a 2PP swing map. Overall the ALP has achieved roughly the same result as in 2016, so booths have swung in both directions in equal parts.
I’ll be back later tonight with a quick podcast, but enjoy these maps in the meantime.


Ben, great work as always. Braddon seems to be missing the 2PP vote layer.
Yeah I didn’t do a 2PP vote layer for Braddon. Might add one later tonight.
Ben are you doing one for Mayo ?
Thanks for your work, Ben. Signs ominous for the government – very few booths even held their vote, and most went backward, in both seats.
Seedy, I wasn’t planning to, but in a few weeks I’ll publish the full guide for 2019 which will include the by-election maps (once the results are finalised).
Good A mayo breakdown will be usefull in helping us all see the likely result in 2019…Even though roughly 15,000 voters from the far Southern suburbs of Adelaide, ( Currently in a Labor held seat ) will be added to Mayo for 2019
Although the map shows big swings on Bribie to Labor, this masks the LNP winning 56% 2PP at the Bribie prepoll.
*All* the retirees must have voted early to get it over with because they don’t have much else to do! I believe they tend to favour LNP, so the pool is smaller at the booths on the day.
Banksia Beach is a bright spot – that is closest to Pacific Harbour I think, which is an upmarket canal waterfront estate.
Comments are closed.